Friday, December 21, 2012


Monday, December 17, 2012
Project: NEED and IDEA. Insects
You already know that the project for this course is going to be a robot. Juan (another technologies teacher) has been working hard in a prototype and now we got it. It works!. So now, we have to begin our process step by step.

NEED
Our first need is to design a COSTUME for the robot. We, the teachers, have analysed the need or problem and we have agreed to construct an INSECT. So, the first thing you have to do is to STUDY INSECTS, their anatomy, types of insects, colors, shapes...

 |
| Insect anatomy scheme, by Piotr Jaworski, PioM; 17 V 2005r., POLAND{{cc-by-sa-2.0}} |
Parts of an insect.:
A - Head
B - Thorax
C - Abdomen
1 - Antenna
4 - Compound eye
11- First wing
12- Second wing
23- Tarsus
24- Tibia
25- Femur
26- Trochanter
IDEA
In this stage you will have to propose one or several solutions and begin thinking about materials. Your team will have to agree and choose the best solution to be built.
Measuring with a ruler and a caliper
Measuring with a ruler:
Measuring with a caliper:


Measuring with a caliper:

- Photocopy using a caliper. When finished and corrected, stick it in your notebook.
- Calibre, in Educaplus.org. First, go to "Estudio", then do the "Tests".
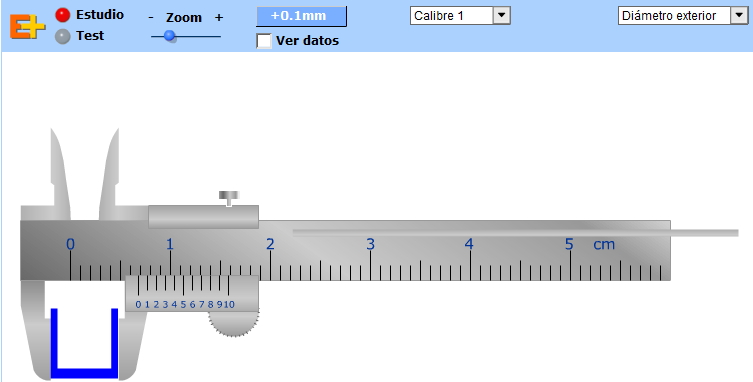
- Now you are ready to do the following task:
 |
| 1,5Volts motor and an SPDT (single pole double throw) switch with a metal lever |
- Perspective views > Measure the pieces and take notes over your sketches.
- Views > Dimmension the views of the pieces over the sketches. Remember you must not repeat dimmensions.
- Finally, you will have to create a FAIR COPY (use rulers, compass, 2H pencil, black feltpen) of the views with dimmensions. Use an appropriate scale for your drawings.
Do a good job. These documents will be part of your final Technical Report!
Subscribe to:
Posts (Atom)